
Connect through your MNSP
Connect through a Cybera MNSP
Prepare a provider-approved Cybera backoffice connection and validate only the exact supported POS endpoint.
Purpose
Use this guide to identify the Cybera box, connect the approved Windows computer, and check the store’s exact POS address.
Before you start
- The approved Windows computer
- An available Ethernet port or a compatible USB-to-Ethernet adapter
- A Cat 5e or Cat 6 cable long enough to route safely
- An unmanaged five-port-or-larger switch and second short cable only if Cybera approves sharing the backoffice port
- The Cybera model, serial or site ID, support contact, and provider-approved setup details
1. Confirm the Cybera box
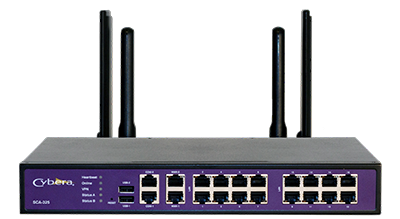
Photograph the Cybera label, model, rear port labels, and existing cable layout. Ask Cybera to identify the exact backoffice port for this store. The source installation commonly used port 2 or a configured LAN 1–4 port, but the label and provisioning vary; do not assume one of those ports applies to this location.
2. Connect the cable
After Cybera confirms the port, connect the approved computer or adapter. If that port is occupied, leave the existing cable in place until Cybera confirms that an unmanaged switch is permitted and approves the cable layout.
What connects to what
- The approved Windows computer connects to the Ethernet cable, directly or through its USB-to-Ethernet adapter.
- That cable connects to the exact Cybera backoffice port confirmed for this store.
- If Cybera approves a switch, the confirmed port feeds the switch; the original approved device and the Windows computer connect to that switch.
- All other POS, payment, and fuel-network cables stay where they are.
3. Check the POS connection
Choose only the POS type confirmed for this store. Do not try both.
Verifone Commander
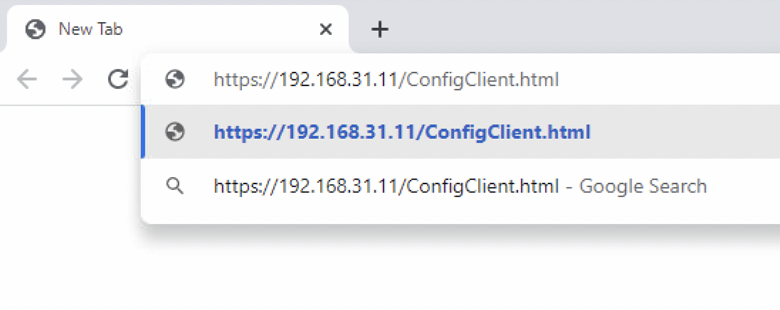
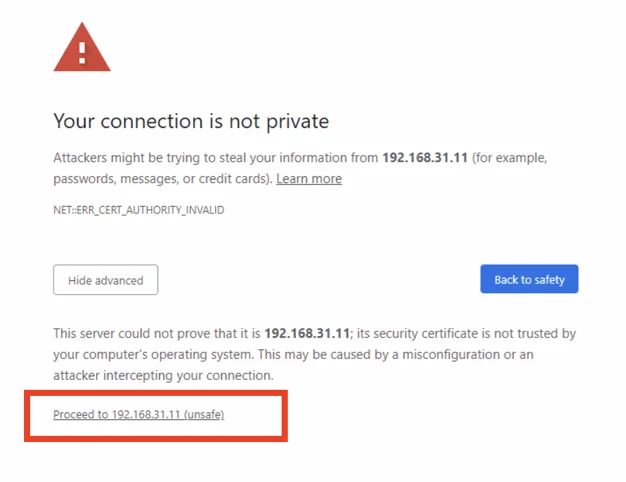
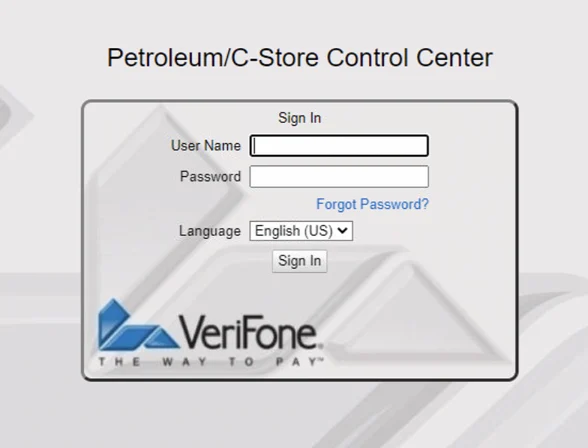
This check applies only to a Verifone register served by Commander. Open the exact reviewed ConfigClient address. The standard address is https://192.168.31.11/ConfigClient.html.
Gilbarco Passport
Open only the reviewed network address in File Explorer. The standard address is \\10.5.48.2.
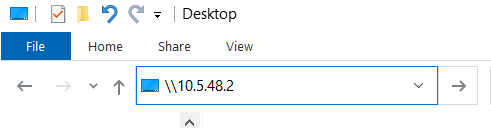
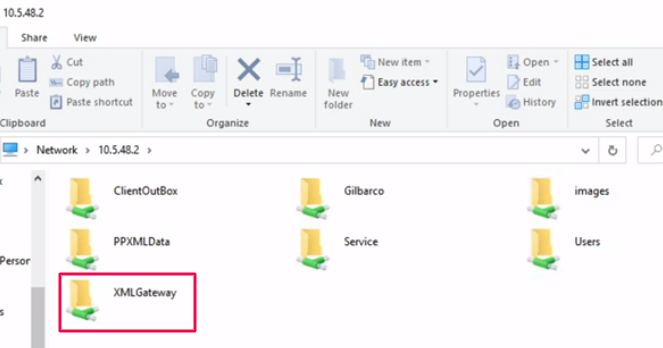
If the exact address fails, stop and give Cybera or Advantage support the device photos and reviewed store facts. Do not try nearby addresses.
What success means
Seeing Control Center or XMLGateway proves only that the computer can reach the POS connection. It does not prove that the Agent is installed, fresh data is flowing, Shift Console is activated, or register writes are ready.
What Advantage support handles
When provider-specific Windows settings are required, authorized Advantage support applies only reviewed Cybera-approved facts. Customers are not asked to use a shell, run probes or scans, or guess network values. Support preserves the computer’s current network state, validates only the declared POS endpoint, and restores the prior state if validation fails. Support does not reconfigure or reboot the Cybera appliance or write to the POS.